
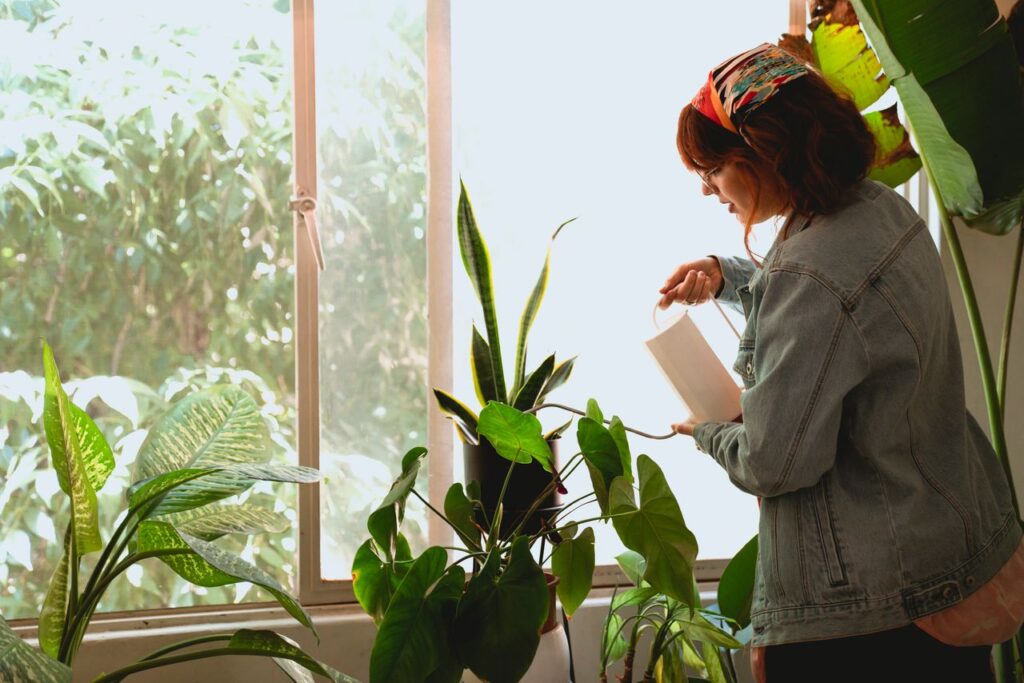
Watering your houseplants seems like the simplest task in plant care, yet it is responsible for nearly 90% of beginner plant deaths.
Most new plant parents fall into a dangerous rhythm: they pick a set day of the week and pour water into every pot regardless of what the soil actually needs.
If you have ever watched a beloved Fiddle Leaf Fig drop its leaves overnight or noticed tiny fungus gnats buzzing around your Pothos, rigid watering schedules are likely the main culprit.
Plants are dynamic, living organisms that do not operate on a strict human calendar.
Learning how to water indoor plants correctly isn’t about memorizing a rigid routine; it’s about learning how to read the clear signals your plants give you every single day.
Read on to master soil testing, explore top versus bottom watering, and discover the exact routine to keep your indoor garden thriving.
The Golden Rule: Never Water on a Fixed Schedule
The single most important lesson in houseplant care is this: water on demand, not on a strict calendar schedule.
A plant sitting directly in a bright south-facing window during peak summer sunshine will drink water three to four times faster than that exact same plant resting in a dim corner during winter.
If you give both plants a cup of water every seven days year-round, one will suffer from severe drought while the other slowly rots from the roots up in stagnant, waterlogged potting mix.
Environmental variables dictate how quickly soil dries out in an apartment setting:
- Pot Material: Porous terracotta pots breathe and dry out rapidly, whereas plastic and glazed ceramic pots retain moisture for weeks.
- Humidity & Airflow: High indoor humidity slows evaporation down significantly. On the flip side, indoor air conditioning or winter heating strips moisture from both foliage and soil at alarming rates.
- Plant Size: Fast-growing plants with dense root systems drink far more water than dormant or slow-growing species.
How to Test Soil Moisture Like a Pro
Before reaching for your watering pitcher, you need to check if your plant actually needs hydration. Skip the calendar and use these three reliable diagnostic methods.
1. The Finger Test
Insert your index finger two inches deep directly into the potting mix.
If the soil feels completely dry, powdery, and cool, it is time to water. If soil sticks to your skin, feels spongy, and leaves dirt under your fingernails, hold off on watering for another few days.
2. The Lift Test
Get used to the overall weight of your potted plants when they are fully saturated versus when they are bone dry.
A thoroughly dry pot feels surprisingly light when picked up, whereas a wet pot feels anchored and heavy. This is often the fastest way to check smaller pots.
3. The Soil Moisture Meter
For deep, large pots where your finger cannot reach the primary root mass, insert a dual-probe soil moisture meter halfway down the pot.
It provides an instant, accurate reading of subterranean moisture levels so you never have to guess.
Top-Watering vs. Bottom-Watering: Which Is Best?
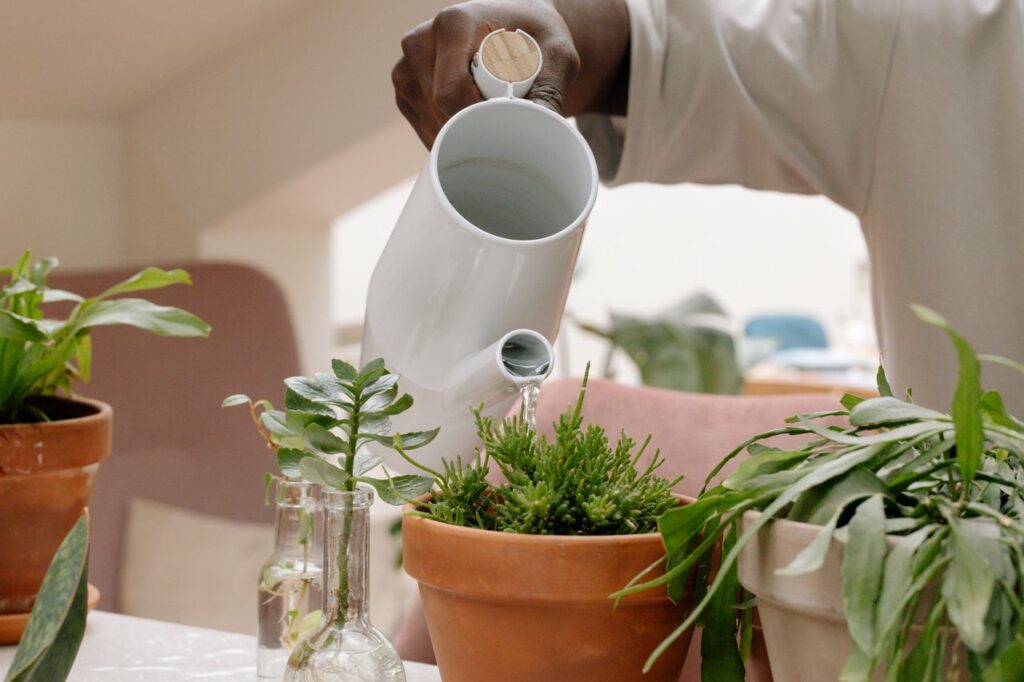
When it comes to delivering moisture to your houseplants, indoor gardeners generally rely on two primary techniques.
Neither approach is strictly “better,” but knowing when to apply each method will dramatically improve your results.
Method 1: Top-Watering (The Classic Way)
Top-watering involves pouring water slowly over the surface of the soil using a long-spout watering can until liquid drains freely from the bottom drainage holes.
This method is ideal for flushing accumulated mineral salts, tap water chemicals, and synthetic fertilizer residue out of the soil mix.
Gently pour water in a circle around the perimeter of the pot to ensure all areas of the root ball receive equal saturation. Continue until you see liquid pouring out into the saucer beneath.
Critical safety step: Always empty the saucer under the pot after 15 to 20 minutes. Letting roots sit continuously in standing drainage water starves them of oxygen and leads directly to root rot.
Method 2: Bottom-Watering (The Deep Soak)
Bottom-watering reverses the process entirely. You place your potted plant inside a sink, tub, or shallow tray filled with two to three inches of standing water.
The soil slowly soaks up water through the bottom drainage holes via capillary action over 20 to 30 minutes.
This approach works best for extremely dry, hydrophobic soil that has shrunk away from the inner edges of the pot.
It is also ideal for plants highly sensitive to crown rot or leaf spots like African Violets, Begonias, or delicate Ferns.
Once the top layer of soil feels noticeably damp to the touch, remove the plant from the water and let it drain thoroughly before returning it to its shelf.
Technical Comparison of Indoor Watering Methods
Understanding the distinct characteristics of different watering techniques allows you to select the right approach based on pot size, plant species, and soil condition:
| Technique | Primary Benefit | Risk Level | Best For | Recommended Frequency |
| Top-Watering | Flushes built-up salts & quick to execute | Moderate (Can cause foliage splash) | Large potted foliage & heavy feeders | Every 1–2 weeks (when topsoil is dry) |
| Bottom-Watering | Deep, uniform root saturation | Low (Prevents topsoil gnat breeding) | Small pots, peat mixes & fragile crowns | Every 2–3 weeks for dense soil |
| Self-Watering Pots | Maintains consistent baseline moisture | High (If used for dry-loving plants) | Moisture lovers like Calatheas & Ferns | Refill reservoir as needed |
| Foliage Misting | Creates minor localized humidity | High (Encourages leaf fungal spots) | Air plants & mounting moss only | Avoid for regular leafy foliage |
4 Signs You Are Doing It Wrong (And How to Fix It)
Houseplants communicate their distress clearly through visual cues on their leaves and stems.
Learning to distinguish between the symptoms of overwatering and underwatering allows you to correct course before irreversible root damage occurs.
Signs of Overwatering (Drowning Roots)
Overwatering does not mean giving a plant too much water at once. It means watering too frequently, which suffocates roots by filling air pockets in the soil with continuous liquid.
- Soft, yellowing leaves: Older bottom leaves turn a pale, sickly yellow and feel soft or limp rather than crispy.
- Mushy stems: The base of the stems near the soil line turns dark brown, soft, or translucent.
- Fungus gnats: Tiny black flies hovering near the moist soil surface, feeding on decaying organic matter and damp roots.
- Sour smell: The potting mix emits a stagnant, swampy odor caused by anaerobic bacterial decay underneath.
Signs of Underwatering (Thirsty Foliage)
When a plant is deprived of moisture, its cells lose structural pressure, causing collapse across the stems and foliage.
- Crispy brown tips: Leaf edges and tips turn dry, papery, and brittle to the touch.
- Curling foliage: Leaves roll inward or droop heavily to minimize surface area and conserve internal moisture reserves.
- Soil shrinkage: The soil block dries out so severely that it shrinks, pulling away from the inner walls of the container and leaving a visible gap.
- Stunted growth: New growth comes out undersized, deformed, or drops off before fully expanding.
Step-by-Step Routine for Healthy Root Hydration
To ensure your houseplants receive the exact amount of moisture they need without triggering root disease, follow this simple step-by-step checklist every time you care for your collection:
- Check soil moisture first: Push your finger two inches into the potting mix or use a moisture probe. Only proceed if the top layers match your specific plant species’ preferred dryness threshold.
- Use room-temperature water: Cold tap water straight from the faucet shocks tropical root systems. Let your tap water sit out in a pitcher overnight so dissolved chlorine dissipates and the liquid reaches ambient room temperature.
- Water thoroughly until it drains: Drench the soil completely until water flows freely out of the bottom drainage holes. Shallow, frequent sipping encourages weak surface roots rather than a deep, robust root structure.
- Discard excess drainage water: Wait 15 to 20 minutes after watering, then completely pour out any excess water collected in the decorative saucer or outer cache pot to keep the roots oxygenated.
Water Quality Matters: Tap vs. Filtered Water
Many beginner plant parents overlook the chemical composition of their tap water. Municipal tap water often contains chlorine, chloramines, fluoride, and dissolved mineral salts.
While hardy species like Snake Plants and ZZ Plants tolerate standard tap water without issue, sensitive tropical plants—such as Calatheas, Marantas, Spider Plants, and Peace Lilies—will develop brown, burnt leaf tips from fluoride and mineral buildup.
If you notice brown edges despite maintaining proper soil moisture, switch to using distilled water, rainwater, or water filtered through a reverse osmosis system.
Alternatively, letting tap water sit in an open container for 24 hours allows chlorine gas to evaporate, making it much gentler on sensitive foliage.
Final Thoughts: Moisture Balance Is Key
Mastering houseplant care isn’t about achieving perfection; it is about paying close attention to environmental feedback.
Once you retire your rigid weekly calendar and transition to checking soil moisture directly, you instantly eliminate the single biggest threat to your indoor garden.
Take a few extra seconds to feel the soil, inspect the drainage, and adjust your watering to the changing seasons—your plants will reward you with lush, vibrant foliage for years to come.
 Small Spaces
 Turn your small space into an urban jungle! Discover step-by-step how to build a mess-free, freestanding living green wall divider for ultimate apartment privacy.
 Plant Care
 Dust is a silent killer! Learn step-by-step how to clean houseplant leaves naturally to boost photosynthesis, prevent pests, and restore vibrant shine.
 Plant Care
 As a pet owner, bringing new plants into your home can feel like a risky game. Curiosity often gets the […]
